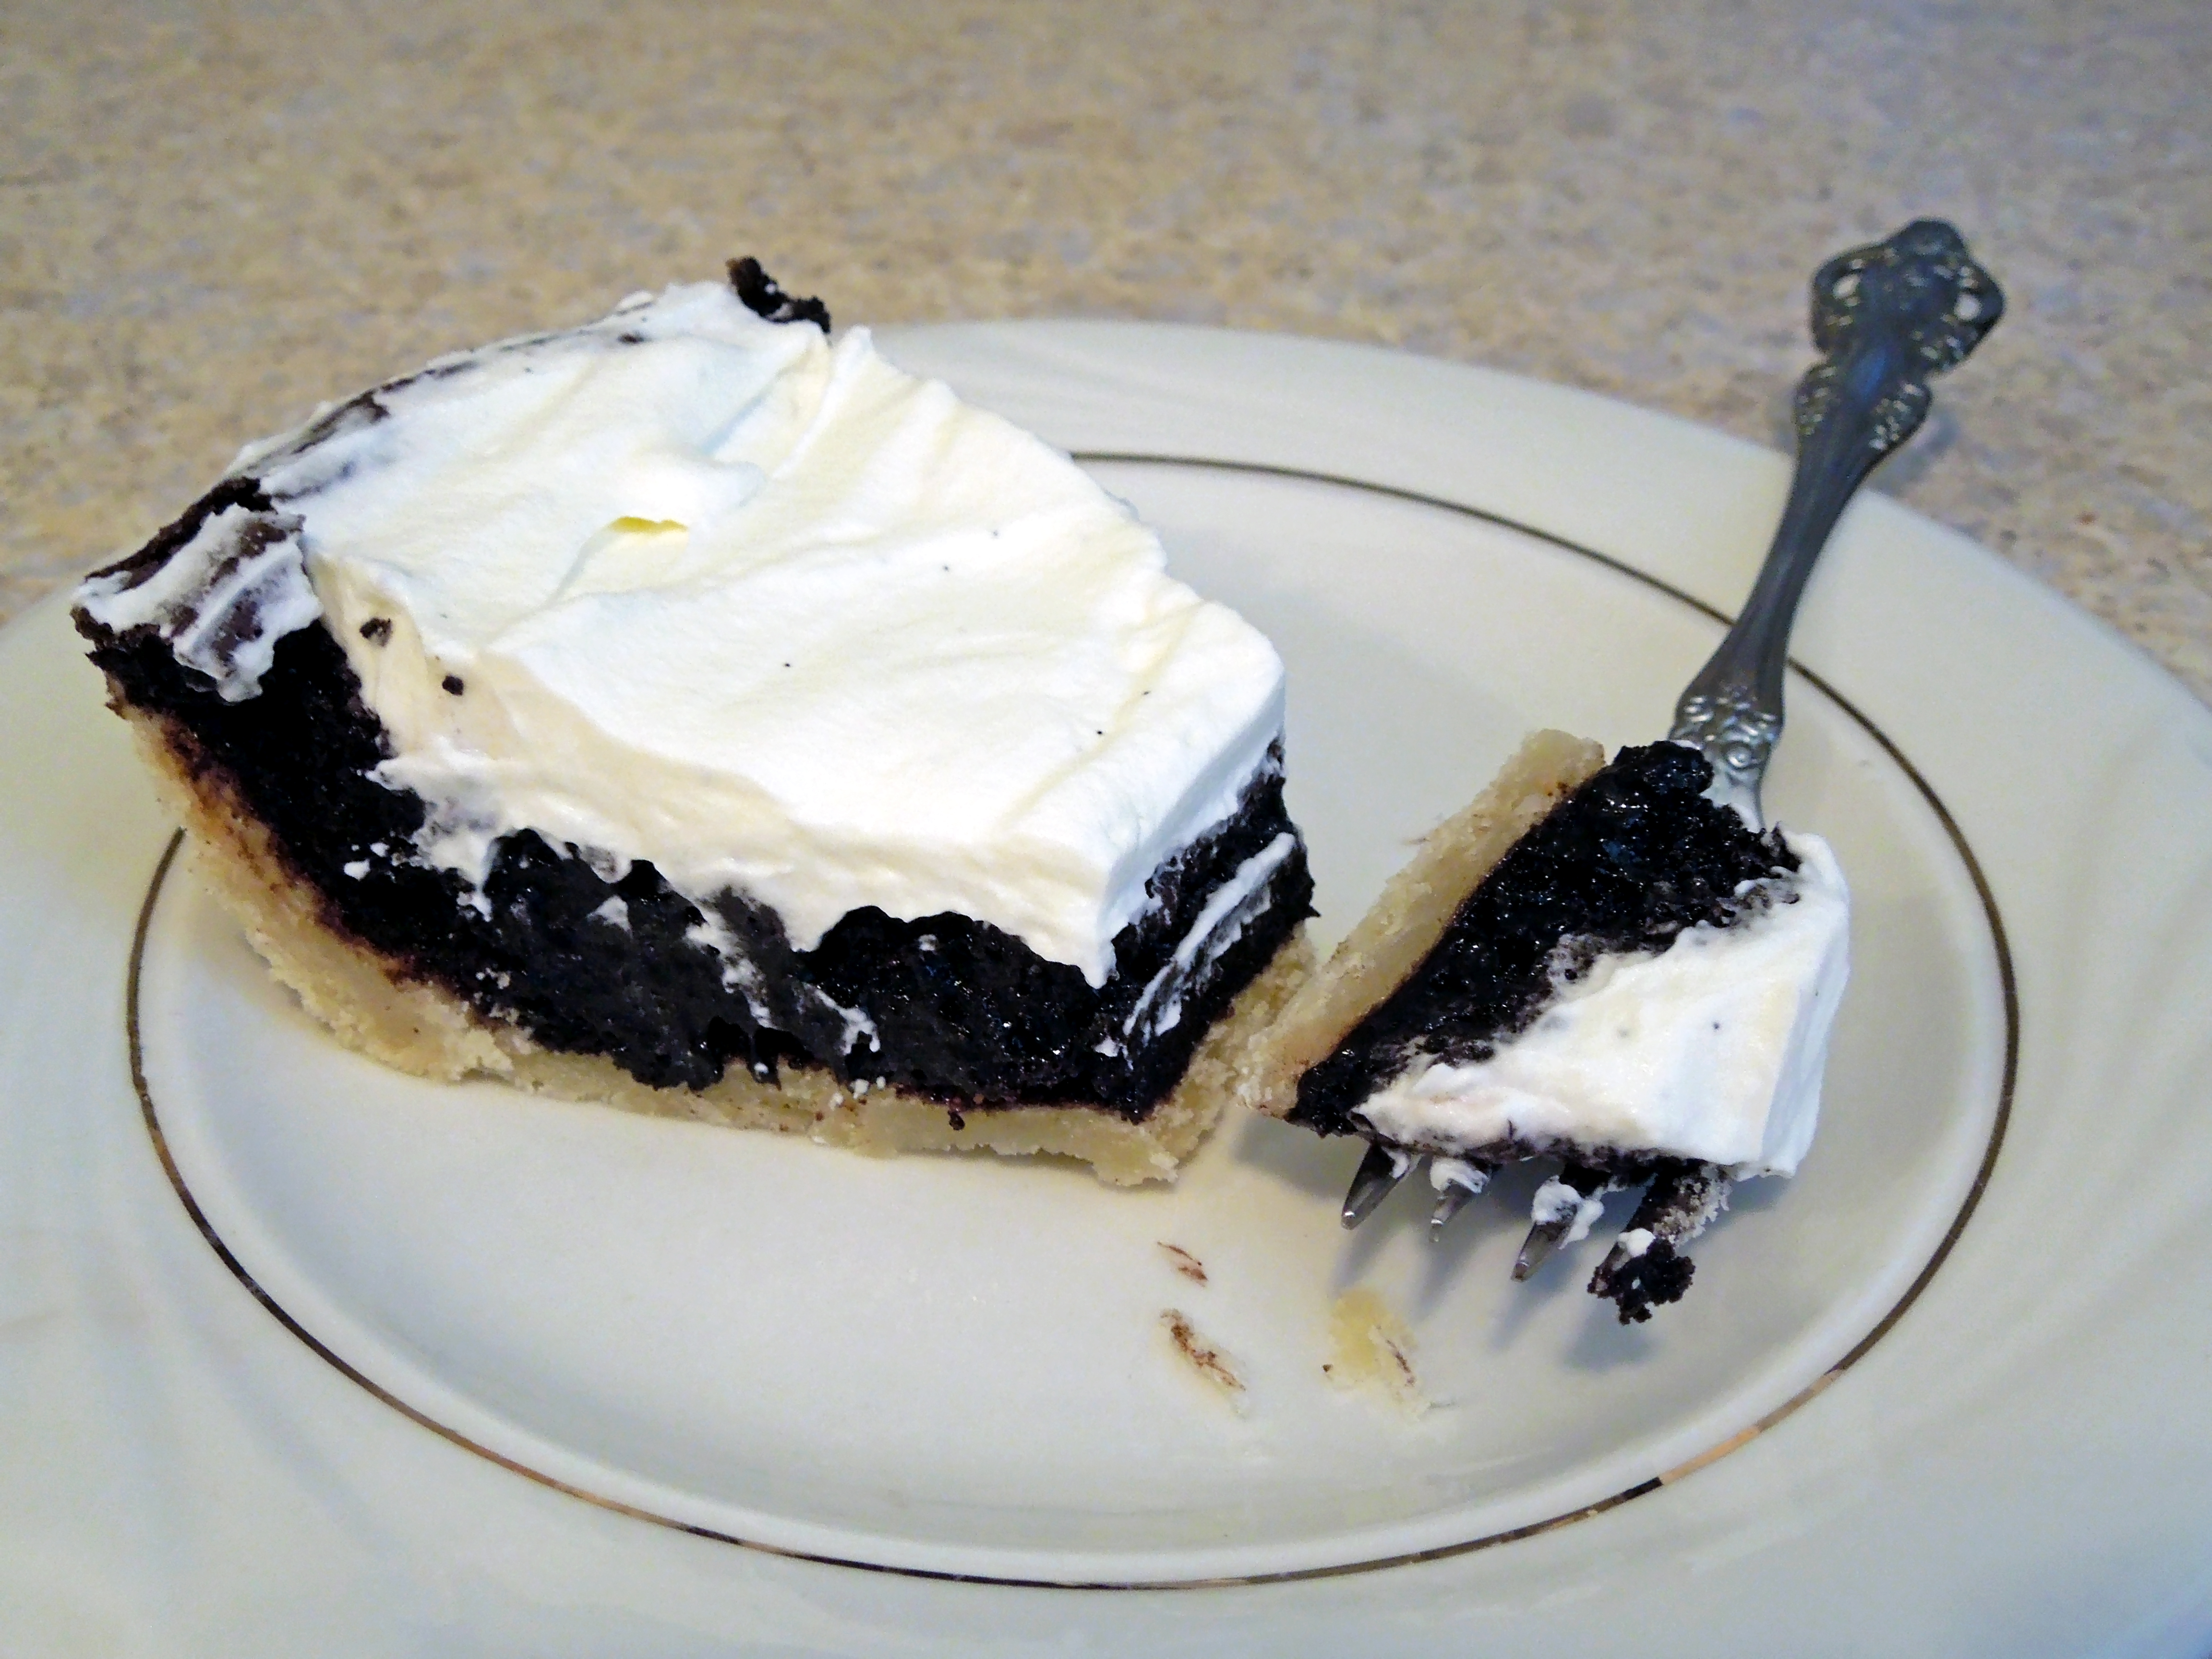
Did I mention to you guys that I’m in a pie mood recently? Also, I’m working on my first ebook. Which is where I’ll share my key lime pie recipe. What does that mean for today’s post? Well, that means I need to share a similar pie recipe with a similar methodology on the blog before publishing my book since I can’t do video in a .pdf. So if you already know how to whip egg whites and fold a foam or whip into a thicker base, great, you’re all set for the publication of my key lime pie recipe. But if you’re not a professional baker (or if you don’t even usually bake at home), then I’m prepping you now for perfect key lime pie later with today’s chocolate pie recipe.
I’m going to share another pie crust recipe with you today using Bob’s Red Mill 1-to-1 mix rather than my usual Bisquick recipe. Feel free to use either based on what you have lying around. Since we’re only making 1 pie, though, you may want to reduce the Bisquick recipe (or not, the usual recipe makes a really thin crust, so it’s up to you).
Also, we’re aiming to add a decent amount of air into the filling for a lighter texture than a classic chocolate pudding pie, but I don’t have a stand mixer to beat a true French silk pie filling for 15-20 minutes. So we’re going to fake it and aim for somewhere in-between.
Finally, you could add another ¼ cup of sugar to the filling if it isn’t sweet enough for your taste, and you could use regular cocoa powder rather than Dutched or alkalized. Just know that your color and texture may be a bit different than my recipe.
With all that out of the way, let’s dive into this pie!
Ingredients:
Crust-
1 ¼ c. Bob’s Red Mill 1-to-1 Gluten-Free Baking Flour (or similar 1-to-1 flour)
4 tbsp. (½ stick) unsalted butter, cold
¼ c. vegetable shortening, cold
2 tbsp. granulated sugar
¼ tsp. salt
3-4 tbsp. cold water
Filling-
3 eggs, separated
½ stick butter
⅓ c. cocoa powder (Dutch/alkalized preferable)
⅓ c. cream
1 c. sugar
Whipped topping-
2 tbsp. vanilla sugar
⅓-½ c. whipping cream
¼ tsp. salt
Directions:
- Crust-In food processor, combine butter, shortening, and all other ingredients except water. Pulse 12-15 times, or until fats begin breaking up and mixture starts looking like wet sand. Set processor on low or “dough” speed, and gradually add water 1 tablespoon at a time. When dough just holds together, stop processor, wrap dough in plastic, and refrigerate at least two hours.
- After 2 hours is up, preheat oven to 375° and press dough into deep dish pie plate. Bake 12-15 minutes, or until dough begins to turn lightly golden. Remove from oven and allow to cool.
- While crust is cooling, prepare filling. Separate eggs carefully, ensuring no yolk gets into the whites, and no egg shell pieces fall into either bowl. Place yolks into bowl suitable for double boiler, either stainless steel or glass. Whites can go into a mixing bowl.
- Beat egg whites to medium peaks, starting at a higher speed and reducing speed as eggs thicken. Occasionally use rubber spatula to lift foamed whites and check for liquid whites at bottom of bowl. Keep beating until no liquid whites remain. Place whipped whites in refrigerator until ready to use.
- In microwave safe bowl, melt ½ stick of butter. Whisk in cocoa powder until mixture appears uniform. Whisk in cream until uniform (if cream over-cools mixture, microwave again approximately 10 seconds, then combine). Set aside.
- Whisk sugar into egg yolks. Stir in cocoa mixture. Place bowl over pot of simmering water to make double boiler and keep whisking, approximately 5 minutes.
- Remove yolk mixture from double boiler. Remove whipped whites from refrigerator, and fold into liquid filling mixture in three additions, folding 12 times with each addition. Remember to turn the bowl one quarter turn after each fold.
- Pour filling into crust, smoothing top with rubber spatula. Bake at 375° ~15 minutes, or until center is only slightly wobbly. Remember to turn halfway through bake time if oven heats unevenly, or reduce oven temperature if edges begin getting dark.
- Remove pie from oven and allow to cool on stovetop half an hour before moving to refrigerator. Chill at least 4 hours in refrigerator before serving.
- Whipped topping-Beat together whipped cream, vanilla sugar, and salt, again starting at a higher speed and reducing speed as mixture thickens. Top pie with whipped cream in an even layer, then slice and serve. Refrigerate leftover pie.
Hahahaha! “Refrigerate leftover pie”… That’s funny. No, I’ll just keep shoveling until it’s all in my tummy, thank you. But if you’re not a professional pie-eater, and if maybe it’s just you eating the pie, then I guess that’ll work. Or you could send it to The Rock. I hear he likes pie.
Anyway, enjoy this delectable chocolate pie, and please leave your thoughts in a comment below, or get in touch with me directly by filling out the form on the contact page.
Follow me on Instagram!
https://instagram.com/thedeglutenizer/
Like me on Facebook!
http://www.facebook.com/TheDeglutenizer
Follow me on Twitter!
http://twitter.com/TheDeglutenizer
Follow me on tumblr!
http://thedeglutenizer.tumblr.com
Follow me on Pinterest!
http://www.pinterest.com/thedeglutenizer/

One thought on “Chocolate Pie with Homemade Crust”